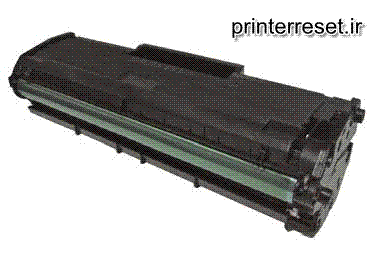
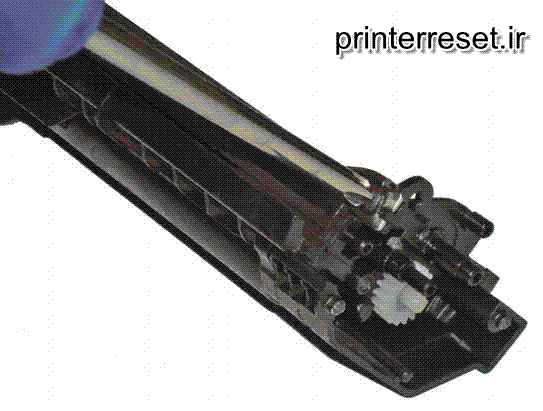
SAMSUNG MLT-D101 TONER CARTRIDGE :
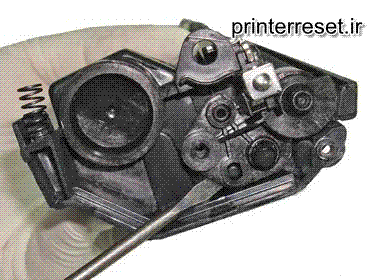
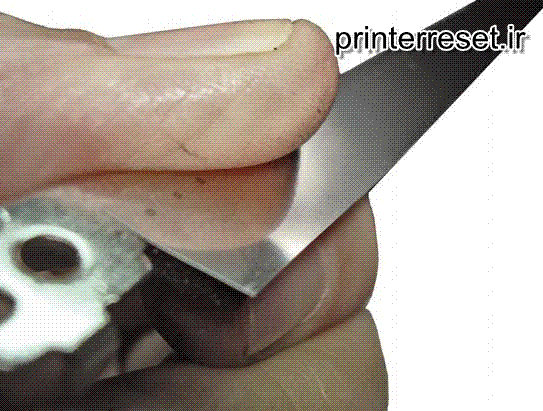
1. Place the cartridge in position, and with the chisel blade section, the head of each plastic rivet holding the left end cover.
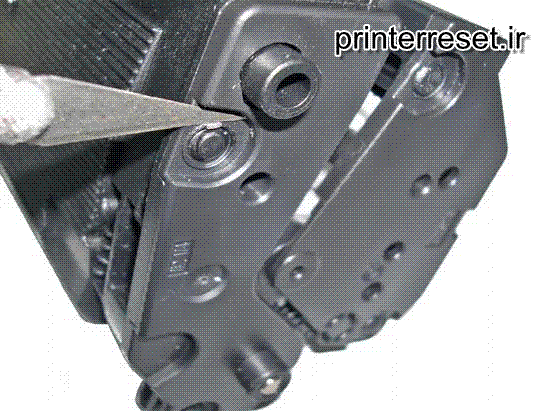
2. Mark the center of each cut and drill a hole with the smalldrill bit no deeper that 3/16”.
3. Tap the four screws into position.
4. Repeat the work sectioning the heads of the rivets on the opposite end cover (marking the center of the rivets, drilling and tapping the three screws).

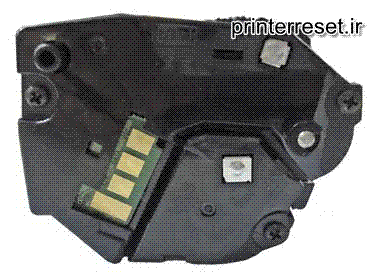
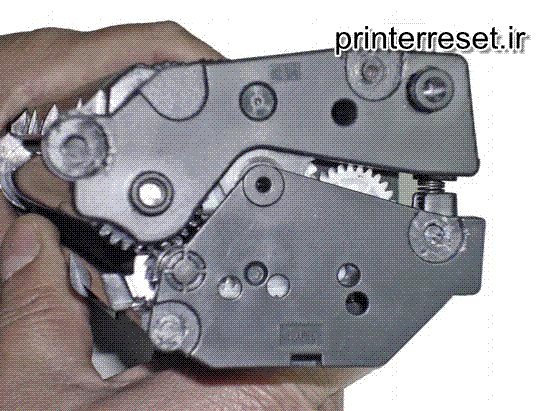
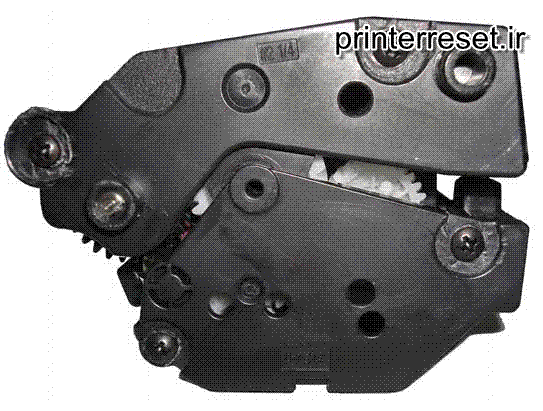
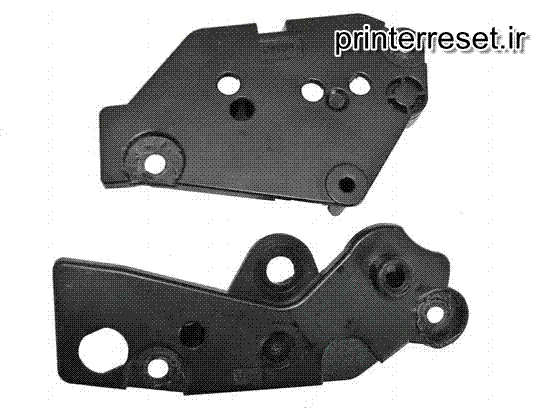
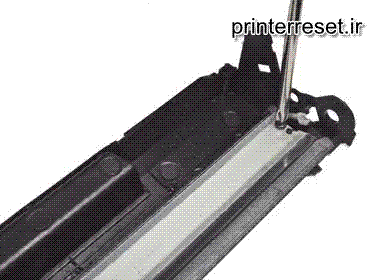
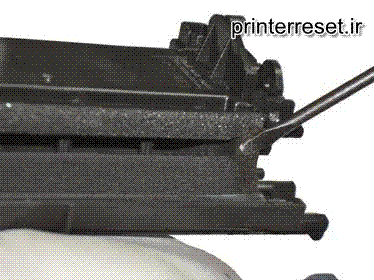
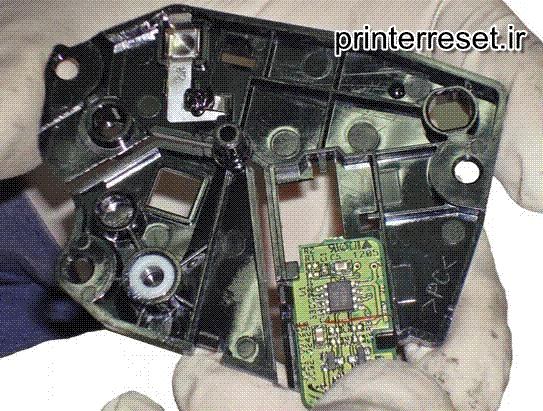
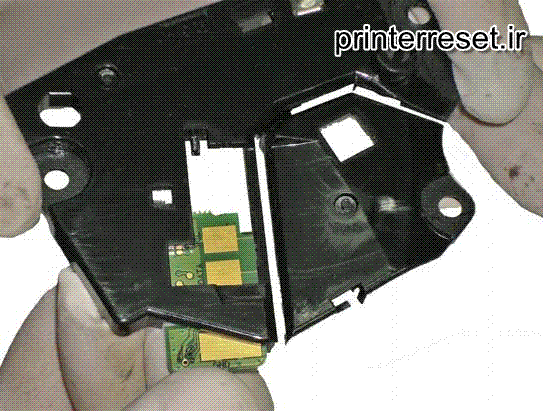
5. Proceed now to remove the screws of the end cover on the right (contact side) and pry open with the small screwdriver at different consecutive points until separation is accomplished. Even though the cover seems to be formed by two sections, it is a unit with a rather thin centerpiece. Worth noting also the way the chip is internally held and the need to be replaced prior to reinstalling the cover.
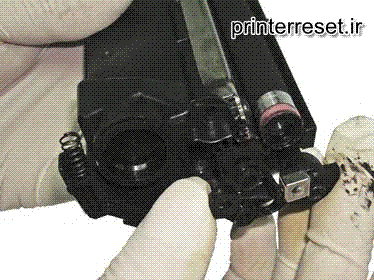
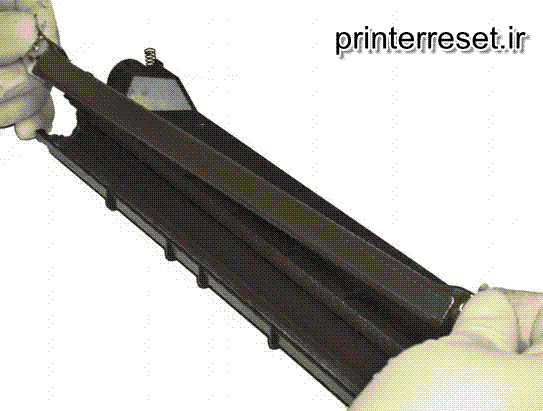
6. Repeat the removal of the left end covers in its two parts, starting with the top one and then the lower one.
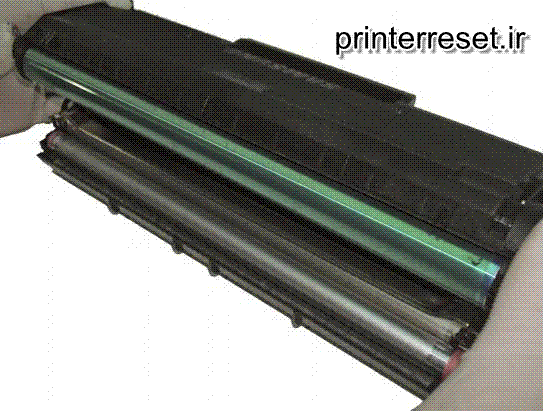
This will allow separation of the cartridge in two sections.
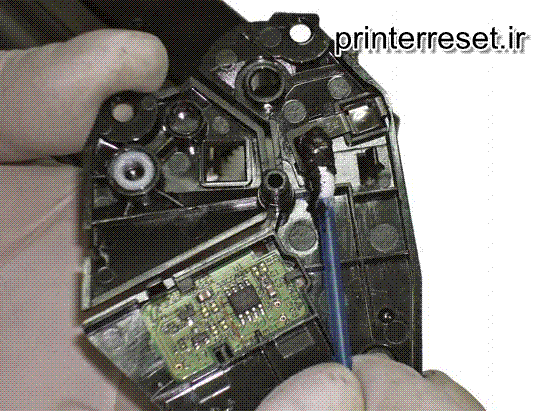
Begin working in the image section.
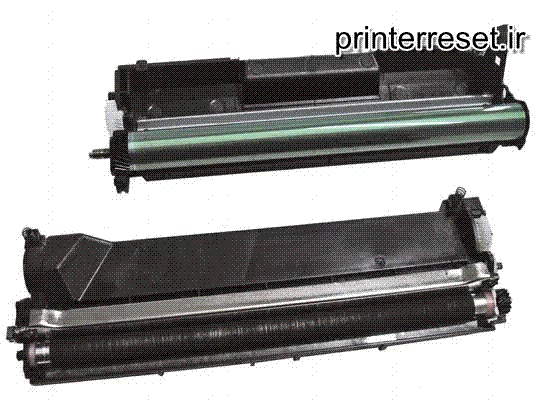
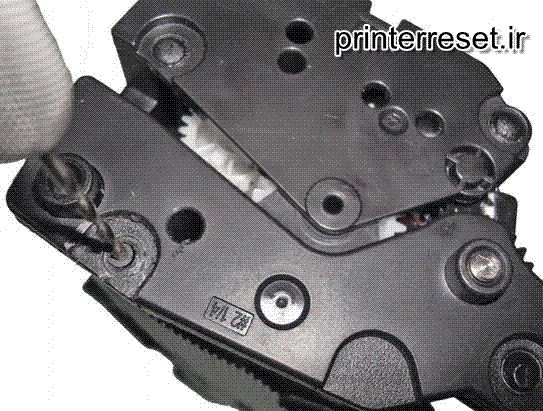
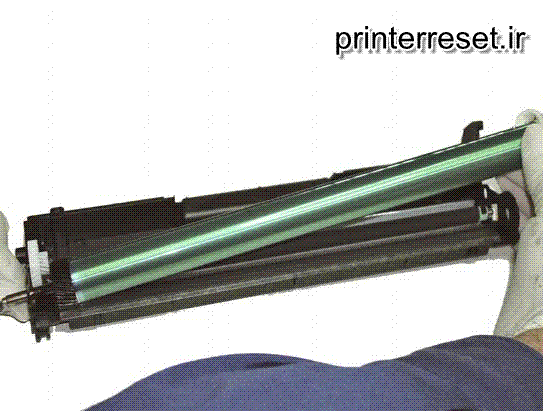
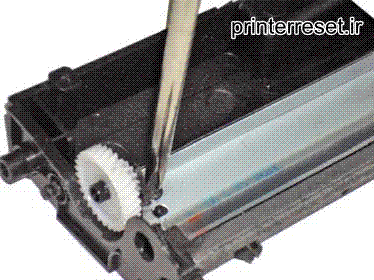
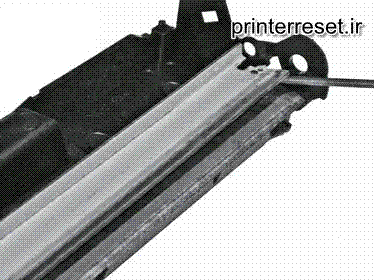
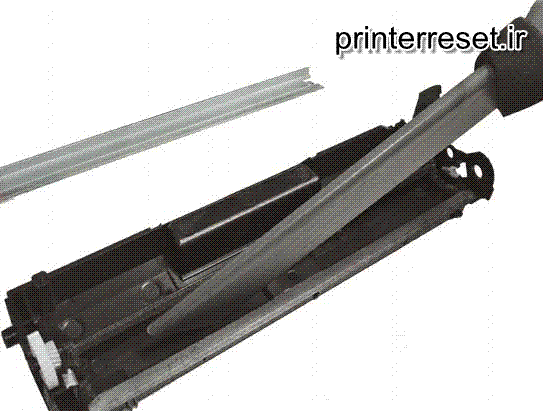
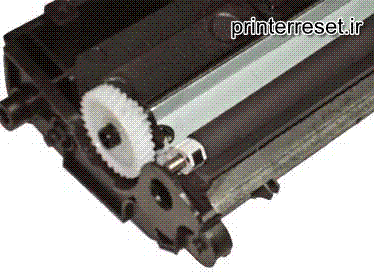
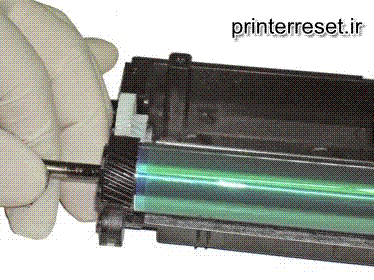
7. Slide the OPC drum axle out just enough to allow the opposite end of the drum to be lifted out of position and remove it.
Leave the drum axle inside the OPC.

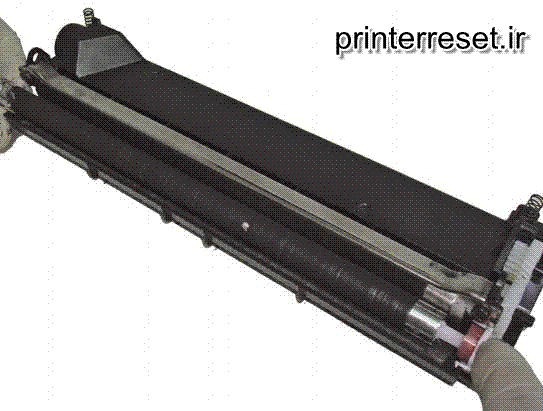
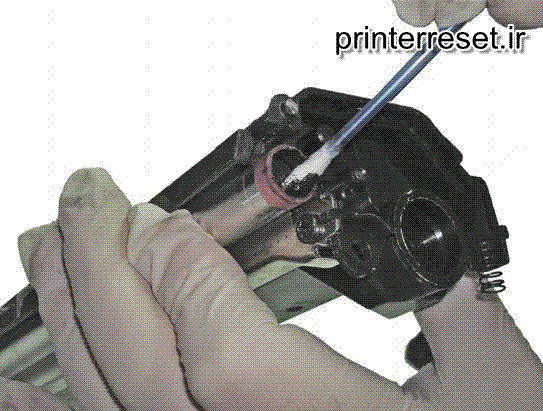
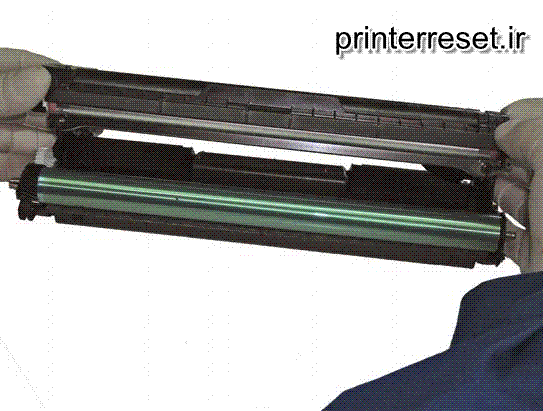
8. Remove the PCR, applying slight leverage to both holders with the small screwdriver.
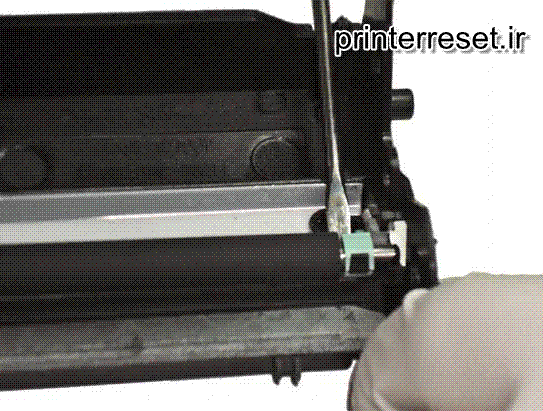

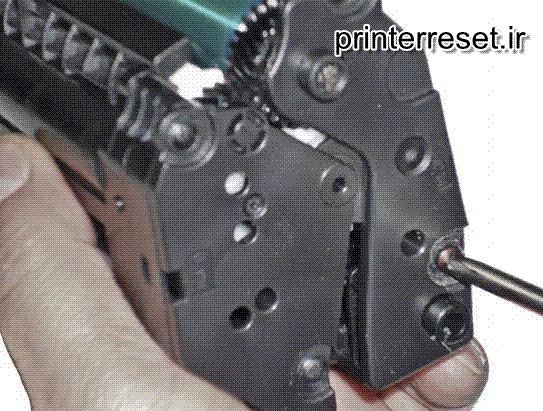
9. Remove both Phillips screws and remove the wiper blade by prying it out.
10. Vacuum the waste bin and surrounding areas. Inspect also the state of the wiper and the recovery blade seals.
11. Lubricate the wiper blade with lubricating powder and install with the two Phillips screws.


12. Wipe the PCR surface with a soft cloth to remove all traces of toner, and if need be, use a PCR cleaning liquid. Most marks and even fingerprints can be removed with a damp cloth containing a few drops of neutral detergent and fractioning the surface with axial strokes.
Then, use a damp cloth to remove the rest of detergent and dry completely before installing the PCR.
Clean the PCR saddles with isopropyl alcohol and apply a slight coating of conductive grease to both ends.
Continue to install the PCR observing the proper location of each saddle.
The green end to the right saddle and the white end to the left saddle.
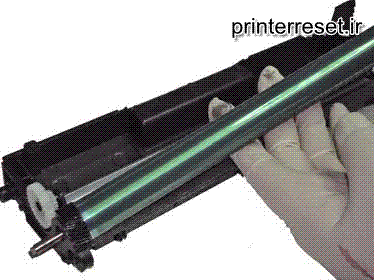
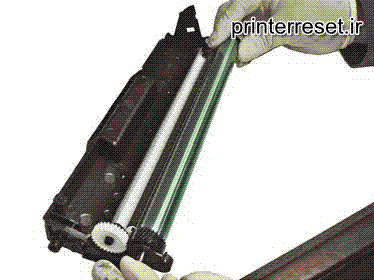
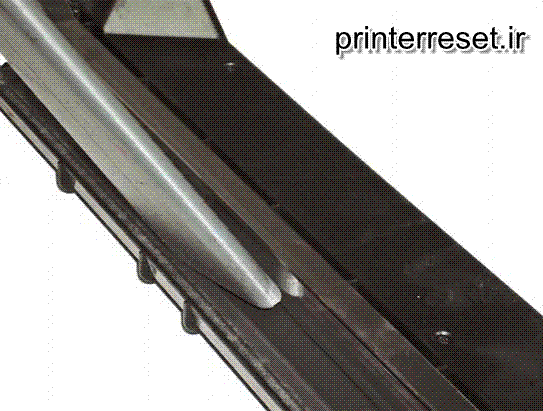
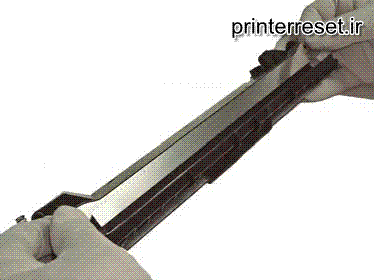
13. Clean the OPC surface and proceed to install it in the cartridge, moving the shaft inside just enough to seat the OPC drum properly. Cover the drum section away from light and set aside.
Begin work on the developer section.
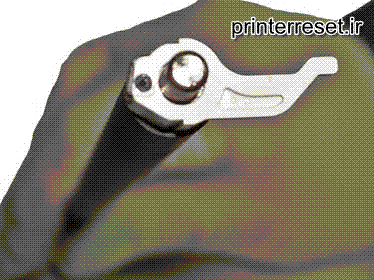
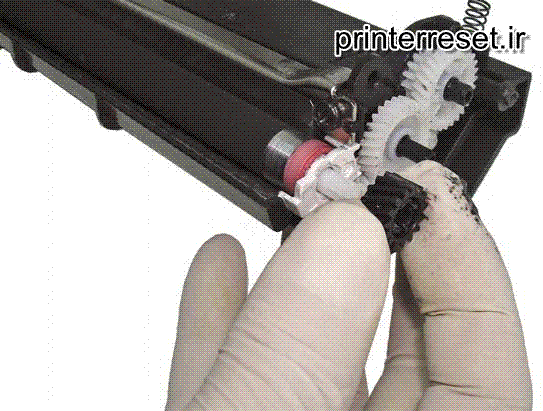
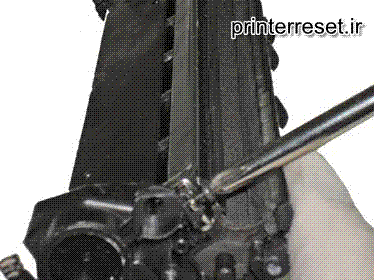
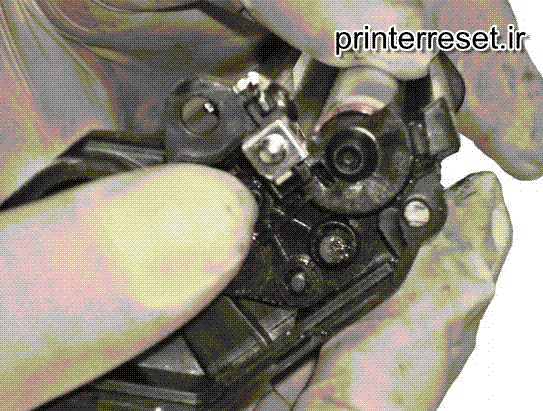
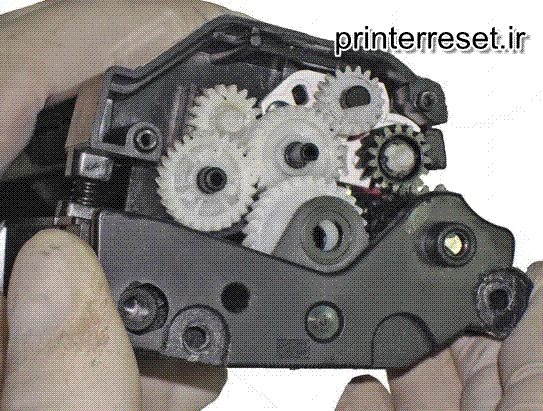
14. Remove the black gear from the developer roller, using the small screwdriver as leverage.

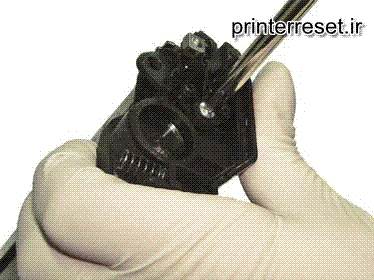
15. At the opposite end, remove the screw holding the contact end plate.
It must be noted that there is NO conductive spring or blade doing the electrical work.
Instead, a conductive plastic tip at the plate can be found.
This is further confirmed by the use of fair amount of conductive grease both at this bearing and the inside of the metal developer roller.
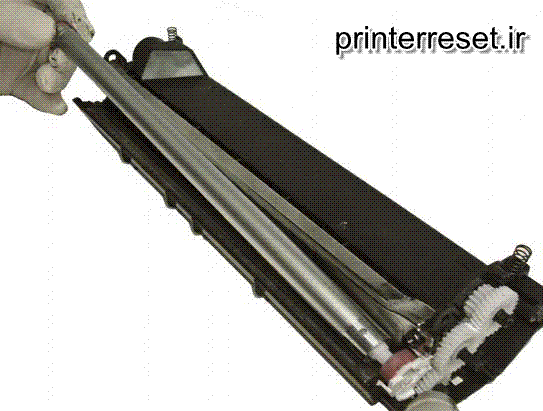
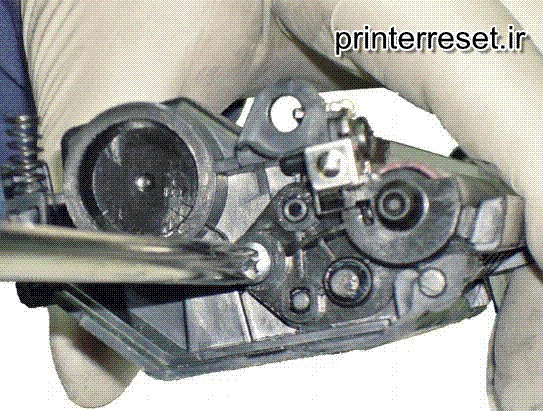
16. Slide the developer roller out and be particularly careful with both plastic bushings acting as separators at each end of the roller.
Clean the roller with a soft cloth and use isopropyl alcohol if needed, to remove all traces of dirt and grease from the surface.
Replenish with conductive grease as needed.
17. Vacuum the area carefully, and avoid touching the doctor blade.
18. Remove the two Phillips screws and doctor blade from its place, then clean with a soft cloth.

19. Vacuum the hopper completely, including the feed roller, and remove the fill plug to facilitate the work.
Inspect the seals for the developer roller and the blade.

20. Install the doctor blade in its place, securing it with the proper screws.
The figure show the plate for the gears removed, but normally this is not required.

21. Install the developer roller, ensuring the positioning of the red plastic bushing first.
Apply conductive grease if not done before.
22. On the other end, install the bushing and the contact plate, securing it with the corresponding Phillips screw.
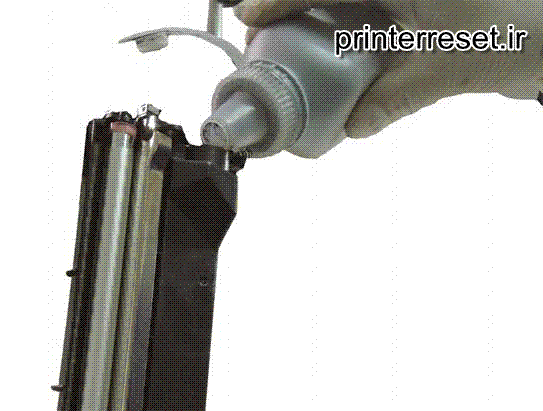
23. Fill the hopper with dedicated toner for use in MLT-D101, and place the filling plug back to close the hole. Check for leaks.
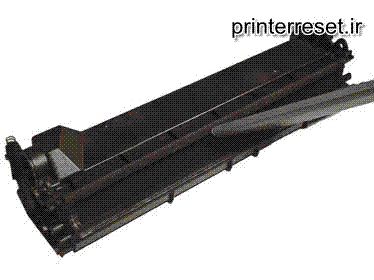
24. Now take the image section and place it on top of the developer section as shown, positioning the compression springs properly.
25. While holding both sections together, place the lower part of the end cover in place, matching the chamfered shaft of the OPC with the right hole.
Screw the cover in place and proceed to install to larger cover in place.
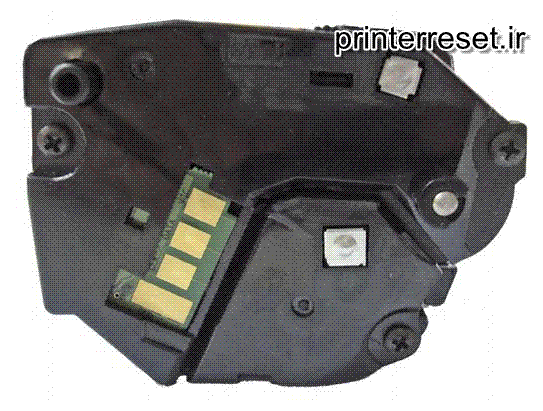
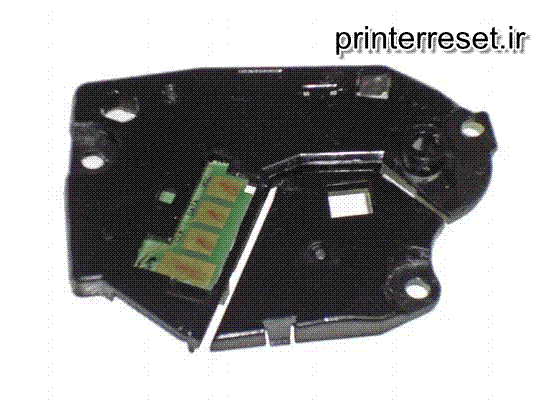
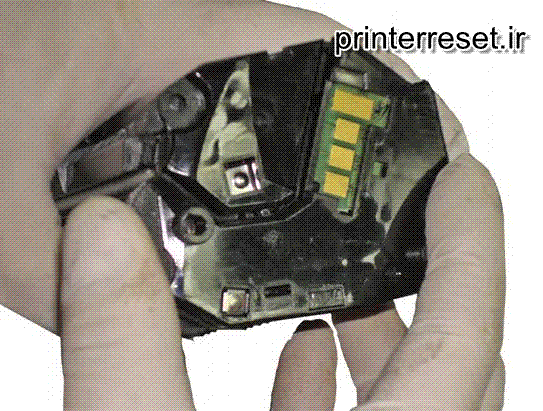
26. Work on the opposite end by taking the end cover and lubricating all contact points, and replacing the chip as shown.
When installing the cover, ensure proper insertion of the metal contact point through the square hole of the cover.
27. Screw on the cover with the chip and proceed to check the cartridge in the machine.
For proper protection, use inflatable air bag packaging to transport this cartridge.